How to print a record
Description
Allows printing data from a database.
The setting of the Report button is almost the same as the setting of the Search button, since in fact both actions search the database and then display the search result, only in our case we will see the search result when printing. After setting up the button, you need to call the report designer to create a template, which will determine exactly how the document will look when printed, but everything in order.
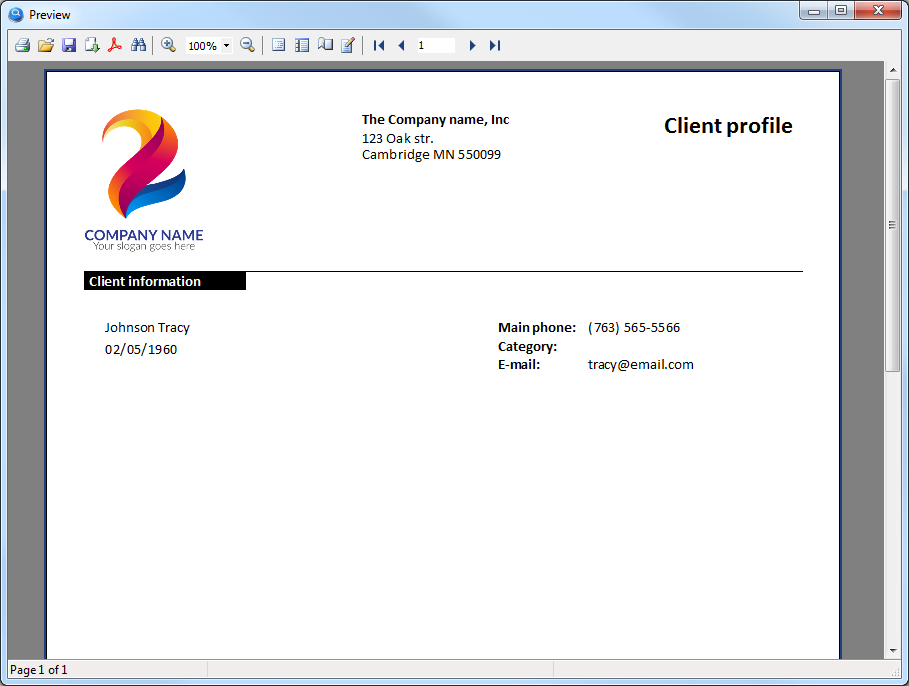
As an example, we will print a simple client profile. It will look as shown in the picture:
The setting of the "Report" button is shown in the figure below:
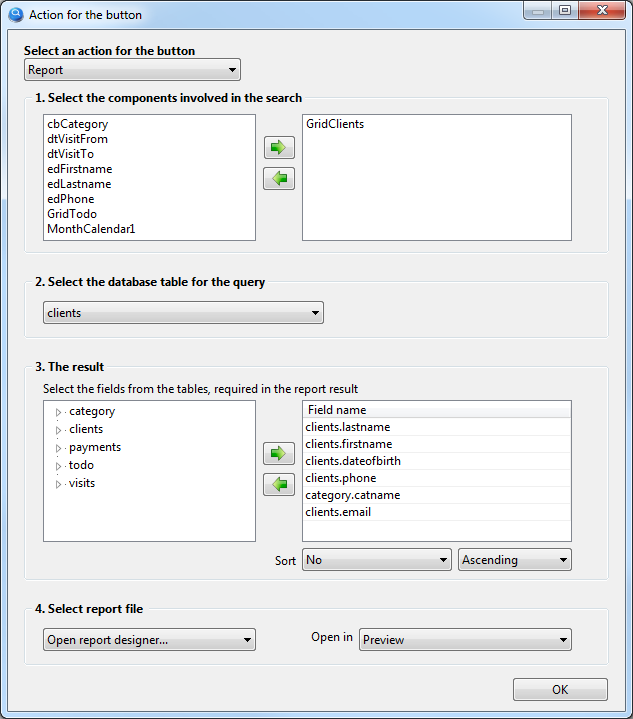
Let's consider this setting in detail by steps:
- Select the components involved in the search
The GridClients component is selected here, where we see all our clients, so only the client that was selected in the GridClients component will be in the report. If there is no component in this list, then the report will receive all data from the selected database table.
- Select the database table for the query
We will print information about the client, respectively select the "clients" database table.
- The result
Select the table fields that we need in the report.
- Select report file
Since the report template has yet to be created, this setting should select "Open report designer...".
A report template is a file that defines exactly what the report will look like, this file will be created in the report designer and will be saved in the Report folder of your project.
To create a report template, you need to run the project 
In the launched project, click this button with the report action, so you will open the report designer.
There is nothing complicated about creating a simple template; in the figure below you can see where the objects were placed from and to. Do the same.
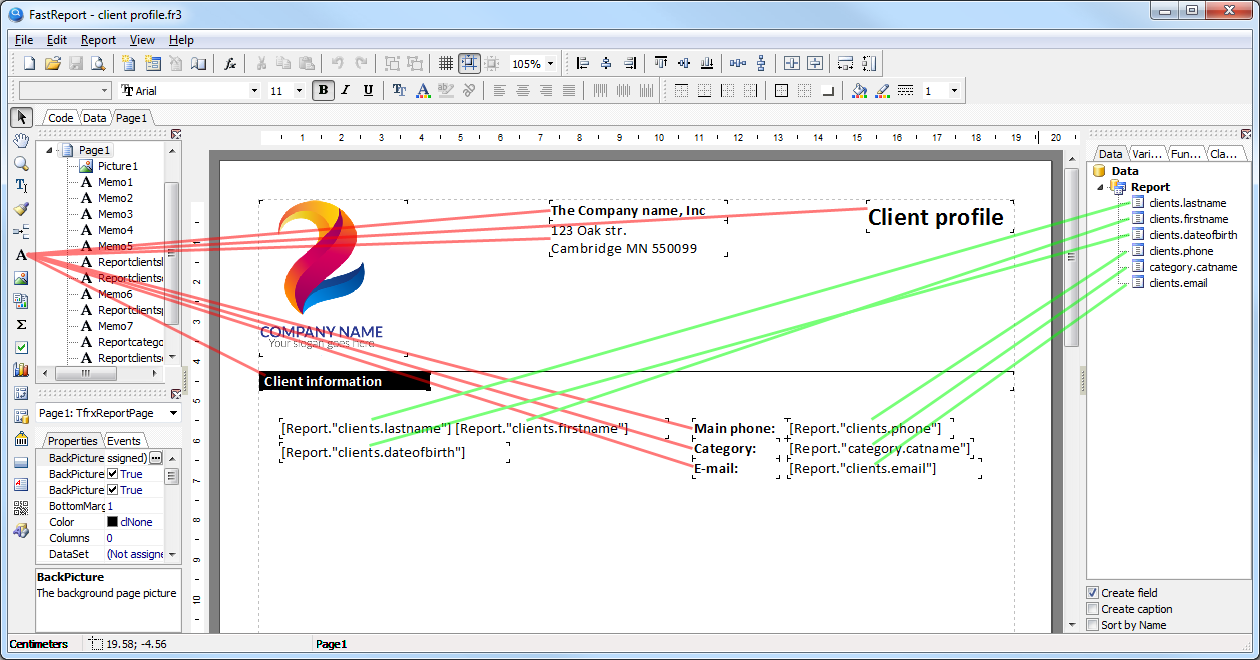
If everything is ready, go to the File > Preview (Ctrl+P) menu and you should see the report ready to print, as was previously shown in the first picture in this section.
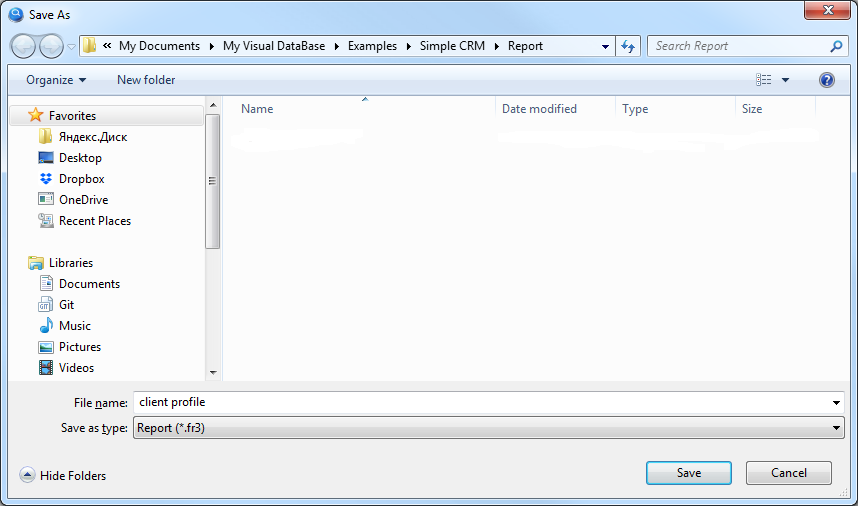
All you need to do is save the report file to the File > Save(Ctrl+S) menu. Name the report file, for example "client profile" as shown in the figure below:
The last step. Close the launched project and go back to the settings of this button.
In the settings item "4. Select a report template", instead of "Open report designer..." select the previously saved report template "client profile.fr3" from the list as shown in the figure below:

Here we go. Now you can start the project again. After selecting the desired client in the GridClients component, click on this button and you will see a report with the selected client data ready for printing.
Sometimes it is convenient to place this button for printing directly on the form of adding/editing a record. In this case, leave the list blank in the button settings "1. Select the components involved in the search". If the button with the "Report" action is placed on the form intended for adding/editing a record, it automatically recognizes which one should be sent to print.
Documentation on working with the report designer can be found here https://www.fast-report.com/public_download/UserManual-en.pdf